1. Open the following image (available at Igpoty ) in Photoshop :
2. Use the lasso tool to mark out and highlight the sky (3 pieces). You'll need to copy each piece separately, then paste to a new layer
3. When all layers are copied. Merge them them until you have 1 piece.
4. Next use the lasso tool to mark out and copy the girl. Paste to a new layer. Do the same for the rock.
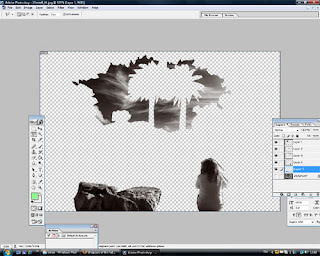
5. You should now have 3 additional layers on top of the original. If you hide the original layer, you should see the following;
6. You can now very lightly feather these new layers (1px or 2px max) so that they will eventually blend better with the original layer.
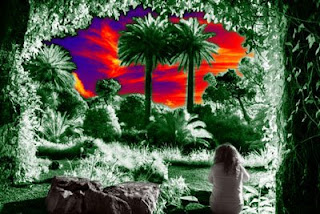
7. Use the 'Gradient Map' in 'Adjustments' to create a gradient of colours for both the original layer and the 'sky' layer. Below are example's of the finished product:
8. Finally, if you like, you can add additional effects such as rendering a 'Lens flare':
9. You may want to enlarge the original image to the resolution of your desktop before saving.
10. Choose 'save for web' and save as a Jpeg image.
11. And thats it, you should have a terrific personalised desktop wallpaper or screensaver.
Here is a link to download 1200x1800 resolution images of the examples above;
http://rapidshare.com/files/234404204/screensavers.zip.html
Copyright © 2009 Shane McLoughlin. This article may not be resold or redistributed without prior written permission.


1 comment:
Nice Blog i like it ... Thanks for sharing... keep it up..
Desktop Wallpapers
Post a Comment